


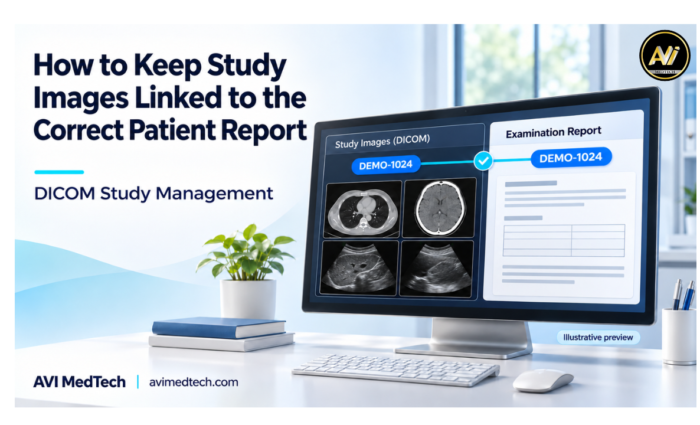
A study image is only of any use if the reporting doctor can clearly identify the patient and the study. In a busy diagnostic centre you can easily have a number of studies, a number of images and a number of reports all going on at the same time. Getting those records properly linked is therefore an essential part of an efficient reporting workflow.
At AVI MedTech we know image management is about so much more than just file storage. The patient details, the exam details, the images and the report need to be all linked through the reporting process.
To support this connection, this article outlines practical steps your team can take using DICOM study management software and structured reporting tools.
Why Correct Image and Report Linking Matters
A patient may come in for a number of different investigations or may be returning for a follow-up scan. It’s therefore not sufficient simply to find the right patient record. Your team have to be able to identify which investigation the study relates to.
For instance a patient’s prior abdominal US and the current US may both be in their history. The images from the earlier visit should be clearly separate from the images in the current report.
Correct linking helps your team:
- Find images for the required examination.
- Differentiate the current work from the previous records.
- Reduce the number of repeated searches carried out as part of report preparation.
- Select the relevant images for the final report.
- Keep a well-structured examination history.
1. Start with a Verified Patient Record
The link between study images and the report begins at registration. Therefore, before starting the examination, staff should confirm that they are working with the correct patient record
Useful details to verify include:
- Patient name.
- Unique patient ID.
- Age or date of birth.
- Relevant contact information.
- Existing registration or visit details.
Do not rely on the patient’s name alone, as two patients may share the same name. Additionally, returning patients may already have an existing record, so check their unique patient ID before creating a new one.
By locating and verifying the correct patient record first, your team can reduce duplicate entries. As a result, subsequent study searches become easier.
2. Link Images to the Specific Examination
Patient records and examination records serve different purposes. While the patient record identifies the person, the examination record relates to a specific visit or study.
Images should be linked to the relevant examination rather than simply added to a general collection.
Before linking a study, check:
| Detail | What to Check |
|---|---|
| Patient identity | Does the study belong to the selected patient? |
| Examination date | Does it match the intended visit? |
| Modality | Is it the expected ultrasound, X-ray, CT or MRI study? |
| Examination description | Does it match the body part or examination being reported? |
| Study or examination reference | Does it correspond to the correct examination record? |
These checks become especially useful when a patient undergoes more than one examination on the same day.
3. Review Received DICOM Studies Before Reporting
When the studies come off the imaging machine, the staff should look at the patient details and the examination details prior to using them in the report.
DICOM study management software can assist your team in the organisation and searching of studies that have been received. That said, staff will still need to check the information associated with the study they have selected.
For example if the patient name, ID or exam details don’t match you need to resolve that before you go any further. You can also have a process in place for dealing with unmatched studies to prevent staff from making an arbitrary choice.
At AVI MedTech the DICOM study list and search tools will allow you to locate studies using the available patient, invoice and modality data. They’ll assist with retrieval, verification is still a necessary step.
4. Check Manually Uploaded Images Carefully
In addition to received DICOM studies, some images reach the reporting team through manual uploads. For example, these may come from a local folder, an exported image set or another approved source.
Before you upload them, open up the correct patient’s examination and make sure that the files you’ve selected are in fact the ones that belong to that examination.
A simple upload routine is:
- Open the relevant patient record.
- Select the relevant examination.
- Have a look at the files you’re about to upload.
- Upload the images.
- Confirm that they appear under the correct examination.
Wherever possible source folders should be structured by examination reference and date. That way the staff can tell the files apart prior to uploading.
5. Select Report Images from the Current Examination
The images available for review may well be more than those which will ultimately be included in the report. The reporting doctor will therefore be in a position to review the study and select the images which are appropriate.
Before including an image, check that it:
- Is the patient’s own and for the intended examination.
- Shows the view/finding relevant to the report.
- Is clearly visible in the report layout.
- Includes appropriate labels or annotations where required.
AVI MedTech’s image viewer and image selection tools facilitate the process of looking at the available images and selecting those which you wish to include in the report.
The images selected should support the findings as documented and remain linked to the correct examination.
6. Keep Previous Studies Clearly Identified
Previous images and reports can be of considerable value in the context of a follow up. Your team must be very clear about the distinction between the historical record and the current examination.
When going back through the earlier info, check the date and type of the examination before using it for comparison.
If an image from a previous report is to be included in the current report, it must be properly identified so the reader can understand both its date and its purpose. This is important to maintain the distinction between what is current and what is historical.
7. Review the Final Report Preview
Before authorisation, have a full read of the report as a complete document. That gives you the opportunity to check that the patient details, the findings and the images all match up.
The final review should cover:
- Correct patient name and ID.
- Correct exam name and date.
- Relevant images included in the report.
- Clear image placement and sizing.
- Findings and impression checked by the reporting doctor.
- Appropriate doctor details and authorisation.
A correctly selected image can still be very difficult to interpret if it’s too small or falls in an awkward position across the pages. It’s therefore worth checking the print preview in terms of both content and layout.
Supporting a Connected Workflow with AVI MedTech
AVI MedTech’s Structured Reporting & DICOM software brings patient records, study access and report creation into one connected workspace.
Relevant features include:
- DICOM studies list: Find the studies you’ve received using the available search options.
- DICOM image viewer: open and view the study images.
- Image upload and selection: Upload the images associated with the examination and select those to be reported on.
- Compare with previous report(s) during the course of preparation.
- Customisable templates: present your findings in the format appropriate to the examination.
- Print preview: check the report layout prior to release.
- Doctor review and authorisation: review the completed report prior to sharing.
Together with a robust verification process they help your team to keep patient information, images and reports all in order.
Keep the patient, the exam and the images all linked from the point of study receipt through to the final report.
To find out more about AVI MedTech’s radiology reporting software and ultrasound reporting software, book a free demo.